更改为全局字体
中文: 楷体
代码: Times New Man
具体步骤
ChatGPT给的安装方法
一、找到 CSS 文件
打开你的 Hugo 项目目录 :
定位 CSS 文件 :
进入 themes 文件夹,然后找到你的主题文件夹(例如 stack)。
在 stack 主题中,寻找 assets/css 或者 static/css 文件夹。
二、创建或编辑 CSS 文件
如果找到了 CSS 文件(通常是 style.css),直接编辑它。如果没有,可以新建一个 CSS 文件,命名为 custom.css。
新建或打开 CSS 文件 :
如果你创建了 custom.css,请确保它位于 assets/css/ 或 static/css/ 目录中。
三、添加字体设置代码
在你的 CSS 文件中,添加以下代码。确保把代码粘贴在文件的最顶部,以便于管理:
 1
 2
 3
 4
 5
 6
 7
 8
 9
10
11
12
13
14
15
16
17
18
19
20
/* 全局字体设置 */
body {
font-family : 'Times New Roman' , Times , serif ; /* 设置英文默认字体为 Times New Roman */
}
/* 自定义字体定义 */
@ font-face {
font-family : 'KaiTi' ; /* 自定义字体名称,后面将用于调用 */
src : local ( 'KaiTi' ), url ( '/fonts/KaiTi.ttf' ) format ( 'truetype' ); /* 设置字体的来源路径 */
}
/* 应用字体到主要文本元素 */
body , p , h1 , h2 , h3 , h4 , h5 , h6 {
font-family : 'KaiTi' , 'Times New Roman' , Times , serif ; /* 设置中文优先,英文作为后备 */
}
/* 设置代码块的字体 */
pre , code {
font-family : 'Times New Roman' , Times , serif ; /* 代码部分使用 Times New Roman 字体 */
}
 1
 2
 3
 4
 5
 6
 7
 8
 9
10
11
12
13
14
15
16
17
18
19
20
/* 全局字体设置 */
body {
font-family : 'XINGKAI' , Times , serif ; /* 设置英文默认字体为 Times New Roman */
}
/* 自定义字体定义 */
@ font-face {
font-family : 'XINGKAI' ; /* 自定义字体名称,后面将用于调用 */
src : local ( 'XINGKAI' ), url ( '/fonts/XINGKAI.ttf' ) format ( 'truetype' ); /* 设置字体的来源路径 */
}
/* 应用字体到主要文本元素 */
body , p , h1 , h2 , h3 , h4 , h5 , h6 {
font-family : 'XINGKAI' , 'Times New Roman' , Times , serif ; /* 设置中文优先,英文作为后备 */
}
/* 设置代码块的字体 */
pre , code {
font-family : 'Times New Roman' , Times , serif ; /* 代码部分使用 Times New Roman 字体 */
}
四、逐行解释代码
全局字体设置 :
1
2
3
body {
font-family : 'Times New Roman' , Times , serif ; /* 设置英文默认字体为 Times New Roman */
}
作用 :将网页的默认字体设置为 Times New Roman。所有未指定字体的文本将使用此字体。
定义自定义字体 :
1
2
3
4
@ font-face {
font-family : 'KaiTi' ; /* 自定义字体名称 */
src : local ( 'KaiTi' ), url ( '/fonts/KaiTi.ttf' ) format ( 'truetype' ); /* 设置字体的来源 */
}
作用 :引入楷体字体。font-family 指定了一个名称,你可以在后面的 CSS 中使用这个名称。路径 :确保 url('/fonts/KaiTi.ttf') 指向正确的字体文件位置。你需要将 KaiTi.ttf 放在 static/fonts/ 目录中。
应用字体到文本元素 :
1
2
3
body , p , h1 , h2 , h3 , h4 , h5 , h6 {
font-family : 'KaiTi' , 'Times New Roman' , Times , serif ; /* 中文优先,英文作为后备 */
}
作用 :设置网站主要文本(包括段落和标题)的字体为楷体。如果用户的浏览器无法显示楷体,将退回使用 Times New Roman。
设置代码块的字体 :
1
2
3
pre , code {
font-family : 'Times New Roman' , Times , serif ; /* 代码部分使用 Times New Roman 字体 */
}
作用 :确保所有代码块使用 Times New Roman,以增强代码的可读性。
五、添加字体文件
获取楷体字体 :
找到并下载楷体字体文件(如 KaiTi.ttf)。你可以在网上搜索“楷体 字体下载”。
放置字体文件 :
将 KaiTi.ttf 文件放在 static/fonts/ 目录中。确保你的项目结构如下:
1
2
3
4
5
6
7
8
9
your-hugo-project/
├── static/
│   └── fonts/
│       └── KaiTi.ttf
├── themes/
│   └── stack/
│       └── assets/
│           └── css/
│               └── custom.css  (或 style.css)
六、重新生成网站
在你的项目目录中,打开终端或命令行,运行以下命令来查看更改效果:
七、检查效果
在浏览器中打开你的 Hugo 网站(通常是 http://localhost:1313)。
确认:
中文内容是否显示为楷体。
英文和代码是否显示为 Times New Roman。
小提示
如果字体没有正确显示,可以检查浏览器的开发者工具(按 F12 键)查看 CSS 是否正确加载,确认字体文件路径是否正确。
如果有问题,随时告诉我,我可以进一步帮助你解决!
其他方法1
文件 custom.html 更改
位置: ./layouts/partials/head/custom.html
直接建一个空白的就行,主题那里就是空白的
 1
 2
 3
 4
 5
 6
 7
 8
 9
10
11
12
13
14
15
16
17
18
19
20
21
22
< style >
: root {
--sys-font-family : "Noto Serif SC" ;
--zh-font-family : "Noto Serif SC" ;
--base-font-family : "Noto Serif SC" ;
--code-font-family : "Noto Serif SC" ;
--article-font-family : "Noto Serif SC" ;
}
</ style >
< script >
( function () {
const customFont = document . createElement ( "link" );
customFont . href =
"https://fonts.googleapis.com/css2?family=Noto+Serif+SC:wght@400;700&display=swap" ;
customFont . type = "text/css" ;
customFont . rel = "stylesheet" ;
document . head . appendChild ( customFont );
})();
</ script >
参考博客:
【Hugo之路 番外6】hugo自定义全局字体 (gezi.men)
这里采用的是思源宋体,可自行更换
其他字体
字体样式:https://fonts.googleapis.com/css2?family=Noto+Serif+SC:wght@400;700&display=swap
字体名:Noto Serif SC,即上方链接中family=后的字符串,+替换为空格
其他方法2
Hugo Stack主题更新小记 (xrg.fj.cn)
字体样式修改
把这一项归在文章页面似乎不太合适,因为主页的字体样式也被我更改了;但其实字体样式主要地还是与文章有关,好的字体让人看起文章来心情愉悦。
作者在 layouts/partials/footer/components/custom-font.html 中进行了字体的自定义:
 1
 2
 3
 4
 5
 6
 7
 8
 9
10
11
< script >
( function () {
const customFont = document . createElement ( 'link' );
customFont . href = "https://fonts.googleapis.com/css2?family=Lato:wght@300;400;700&display=swap" ;
customFont . type = "text/css" ;
customFont . rel = "stylesheet" ;
document . head . appendChild ( customFont );
}());
</ script >
他使用的字体是 Lato ,这个字体不支持中文,因此最终呈现出来的字体是平平无奇的微软雅黑(其实是作者放置的默认选项)。
更改字体的方式有几种:
使用在线字体;
下载字体CSS并引入;
使用正常PC都会有的字体(如微软雅黑、仿宋、楷体等)。
我决定使用在线字体,首先是因为在线字体的样式比较丰富,其次是字体CSS并没有那么好找……
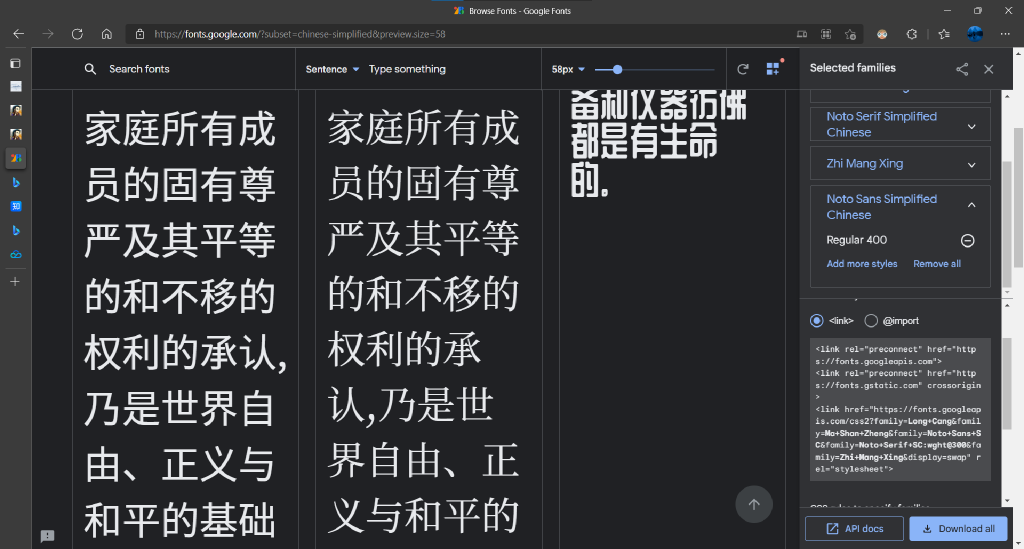
科学上网 去到
Google fonts
custom-font.html 中的原有代码注释掉,使用网站给出的代码。
我现在的 custom-font.html 内容如下:
 1
 2
 3
 4
 5
 6
 7
 8
 9
10
11
12
13
14
15
<!-- < script >
( function () {
const customFont = document . createElement ( 'link' );
customFont . href = "https://fonts.googleapis.com/css2?family=Lato:wght@300;400;700&display=swap" ;
customFont . type = "text/css" ;
customFont . rel = "stylesheet" ;
document . head . appendChild ( customFont );
}());
</ script > -->
< link rel = "preconnect" href = "https://fonts.googleapis.com" >
< link rel = "preconnect" href = "https://fonts.gstatic.com" crossorigin >
< link href = "https://fonts.googleapis.com/css2?family=Long+Cang&family=Ma+Shan+Zheng&family=Noto+Sans+SC:wght@300&family=Noto+Serif+SC:wght@300&family=Zhi+Mang+Xing&display=swap" rel = "stylesheet" >
一次性引入了几款我认为还不错的字体,以便自由选择。
引入字体之后,来到我们的老朋友 custom.scss 文件中,把 body 和 .article-content 的字体改为我们引入的字体的名字即可。
1
2
3
4
5
6
7
body, .article-content {
    // font-family: 'Long Cang', cursive;
    // font-family: 'Ma Shan Zheng', cursive;
    // font-family: 'Noto Sans SC', sans-serif;
    font-family: 'Noto Serif SC', serif;
    // font-family: 'Zhi Mang Xing', cursive;
}
字体来源
霞鹜文楷
霞鹜文楷:猫啃网 (maoken.com)
霞鹜文楷github地址
安装字体
右键 .ttf 后缀的文件,里的安装即可
有多个 ttf 任选一个喜欢的安装
参考博客
Hugo Stack主题更新小记 (xrg.fj.cn)